To convert an ICO to PNG, open the icon in a tool built for the icon format and save it out as a PNG. The catch is that one .ico holds several sizes, so decide whether you want a single size or all of them, then check the transparency comes across. The Univik ICO Converter opens the .ico, shows every size inside and saves any or all of them as PNG with the transparency kept. Online tools and Windows Paint work too, with the limits covered below.
An ICO looks like one icon, but it is really a small bundle of the same picture at several sizes. That is what makes converting it to PNG less obvious than it sounds. You are not just changing a file extension, you are picking which image inside the bundle you want and making sure the see through parts stay see through. Get those two choices right and the rest is easy.
What Converting ICO to PNG Gives You
A PNG is a single flat image that opens anywhere, in Photoshop, in a browser, in a slide, in a design tool. An ICO file is a Windows container that most of those programs cannot open at all. So the point of the conversion is to lift the picture out of the Windows only format and into one the whole world reads.
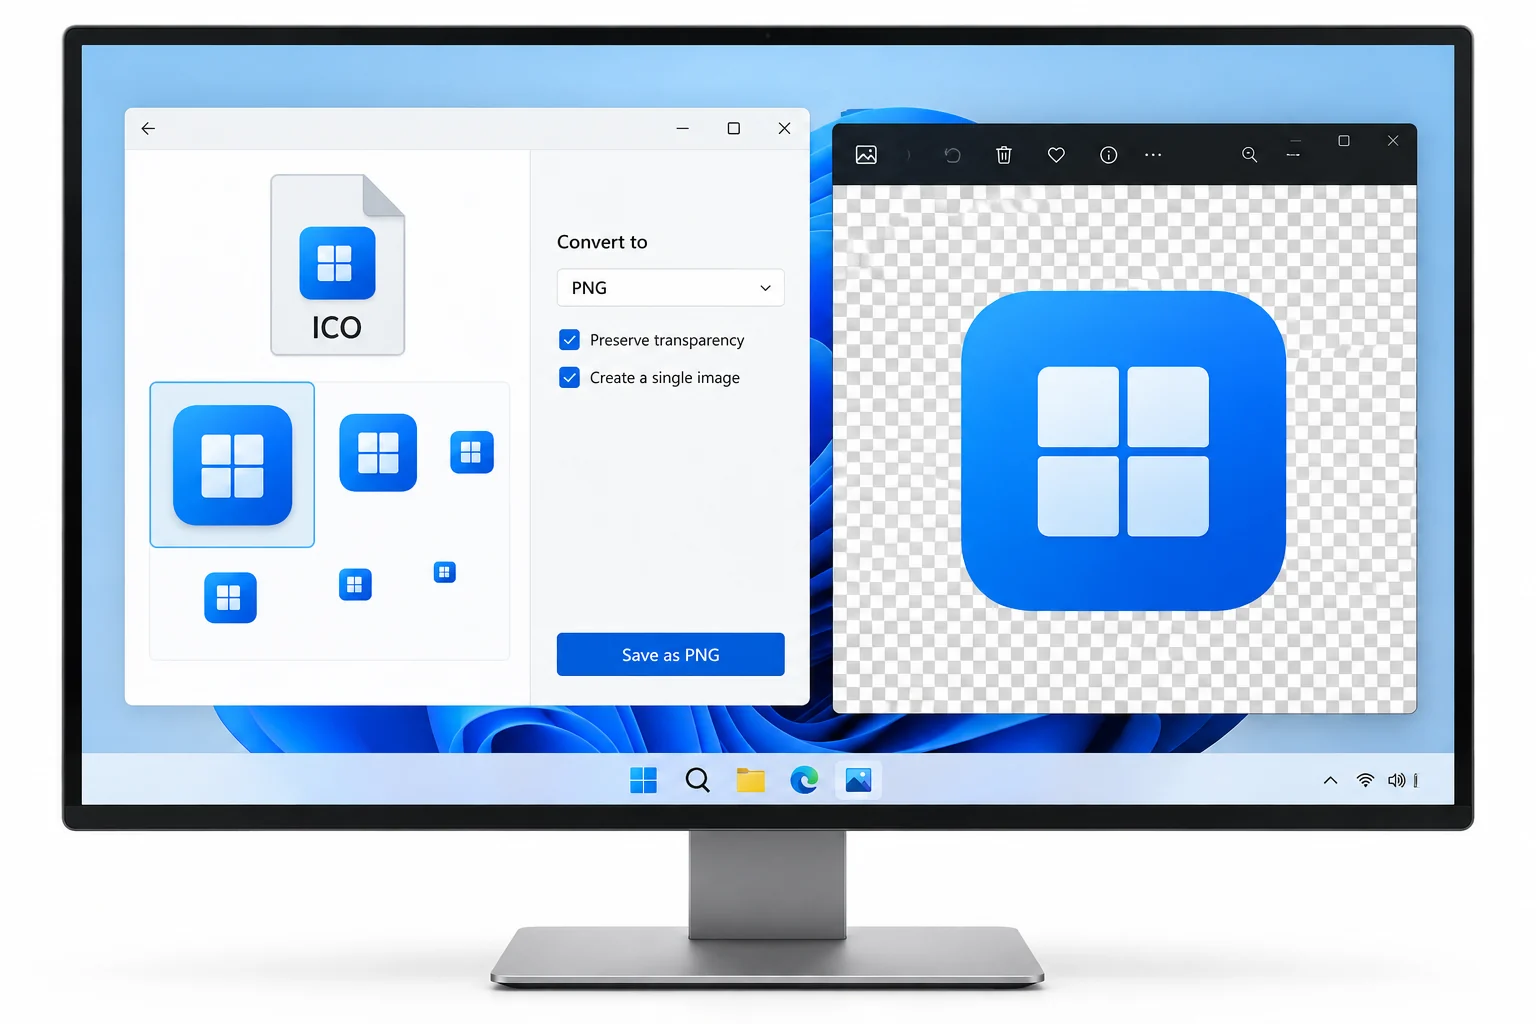
Two things ride along with that. First, since one .ico can carry many sizes, the conversion has to choose one or hand you all of them. Second, an icon with soft edges or a transparent background only stays that way if the PNG keeps its alpha channel. A good conversion protects both. A careless one gives you a single blurry size on a white square.
Convert ICO to PNG with Univik
The Univik ICO Converter opens the .ico, lays out every size it holds in a grid and lets you save the one you want or all of them as PNG in a single click. It reads the format directly, so no copy of anything else needs to be installed, and it keeps the alpha channel so the transparency survives. Point it at a folder and it converts a whole batch, which matters when you are pulling PNGs from a stack of app icons or favicons.
Univik opens the icon, shows every size inside and saves one or all of them as PNG with the transparency intact, one file or a whole folder.
Free Download See All FeaturesThe Free Way in Windows with Paint
If you only need one icon and do not mind a rough result, Windows Paint handles it without anything extra. It opens most .ico files and saves a PNG straight from the File menu.
- Right click the .ico file, choose Open with and pick Paint.
- Click File then Save as, picking PNG picture as the type.
- Give it a name and a folder and save.
- Open the result to check the size and the edges look right.
Two honest limits. Paint takes a single image from the bundle, so you cannot get all the sizes this way. And older versions of Paint fill the transparent background with solid white, which ruins an icon meant to sit on a coloured page. The Paint that ships with current Windows 11 handles transparency better, but if yours flattens it, reach for a tool that keeps the alpha channel instead.
One Size or Every Size
This is the part most guides skip. Because one .ico holds several sizes, every converter has to decide which to give you, and most quietly grab the largest, which is the 256 pixel image when it exists. When it does not, you get whatever the biggest available size is, and that can be a humble 48 pixels blown up and soft.
When you want them all, a bundle of separate PNGs at 16, 32, 48 and 256, the set Microsoft's icon guidance lists for an app, is far more useful than one guess. A tool that shows every size lets you take the exact one you need or export the full set at once. If a file will not open to begin with, the free ICO viewer lets you see what sizes are inside before you convert anything.
Keeping the Transparency
Modern icons carry a full alpha channel, the 8 bit transparency that lets edges fade smoothly and a background show through. Windows has supported this in 32 bit icons since Windows XP, as the ICO format history lays out. PNG carries the same kind of alpha, so a clean conversion keeps every soft edge exactly as it was.
The way to lose it is to send the icon through a format that has no alpha. Save an icon as JPG and every transparent pixel turns solid white, because JPG simply cannot store transparency. So for an icon with a see through background, PNG is the right target and JPG is the wrong one. If your converted PNG shows a white box behind the artwork, either it went through a format without alpha or the tool flattened it on the way out.
Online Converters and the Trade Offs
Plenty of free websites convert an ICO to PNG in seconds, and for a single throwaway icon they are quick. The trade off is that you hand your file to a website you do not run. For a favicon that is already public, no harm done. For an icon pulled from an internal app, a client project or anything you would not post openly, that upload is worth a second thought.
Online tools also vary in what they hand back. Some give only the largest size, some strip transparency, some cap how many files you can do at once. A tool that runs on your own machine skips the upload entirely, keeps the transparency and takes a batch without a queue. Pick the online route for something public and small, the offline route for anything private or in bulk.
Where a PNG Actually Helps
Converting is not busywork. It is what makes the icon usable outside Windows. Designers pull an app icon into Figma or Photoshop as a PNG because those tools will not open an .ico. Web builders drop a PNG logo into a page where an icon file would not display. Writers put a clean PNG into a document or a slide. Support teams show a product's real icon in a how to guide. Going the other direction, a PNG only becomes a usable folder icon after it is packed back into a real .ico, and the guide to changing a folder icon in Windows 11 shows exactly where that file plugs in.
Each of those needs the same thing, the artwork lifted out of the Windows container and into a format the tool in front of them accepts. Sometimes the icon you want is buried in a program file rather than sitting in a tidy .ico. Our walkthrough for extracting icons from EXE and DLL files covers getting it out, and the map of where Windows stores its icons shows which file to open.
Fixing the Usual Problems
The same three things go wrong, and each has a plain cause. A white box behind the artwork means the transparency was dropped, so convert to PNG rather than JPG and use a tool that keeps the alpha channel. A blurry, soft result means the icon only held small sizes and one got stretched, so open the file first to see what sizes exist rather than trusting the largest to be big. And getting a single image when you wanted several means the converter took only one, so choose a tool that exports every size as its own PNG.
When the fix is not obvious, looking inside the file settles it. Seeing the real sizes and their transparency tells you what is possible before you blame the conversion. From there the right target and the right tool are easy to pick.
Frequently Asked Questions

Written and maintained by Leena Taylor Paul and the Univik team, developers of Windows data conversion and recovery software since 2013. Most people who reach us for this want an app icon or a favicon as a clean PNG for design work, and the two things they get wrong are the size and the lost transparency, which is why both get their own section here. Last verified August 2026. Stuck getting a clean PNG out of an icon? Contact our support team.