A PNG becomes a Windows icon by being packed into an ICO container, a file that carries your art at several sizes so every spot on screen gets a sharp copy. Renaming the extension does nothing, because the bytes inside are still a single PNG. Use Create ICO from Image in the Univik ICO Converter, feed it a square transparent PNG, and it writes a real .ico with the standard sizes inside.
You have a logo, a drawing or a downloaded graphic as a PNG, and you want it on a folder, a shortcut or an app. Windows will not take the PNG as it is. The steps below build the file Windows actually wants, then the rest of the page explains what that file is, so the next icon you make comes out right the first time.
Turn a PNG into an ICO in Four Steps
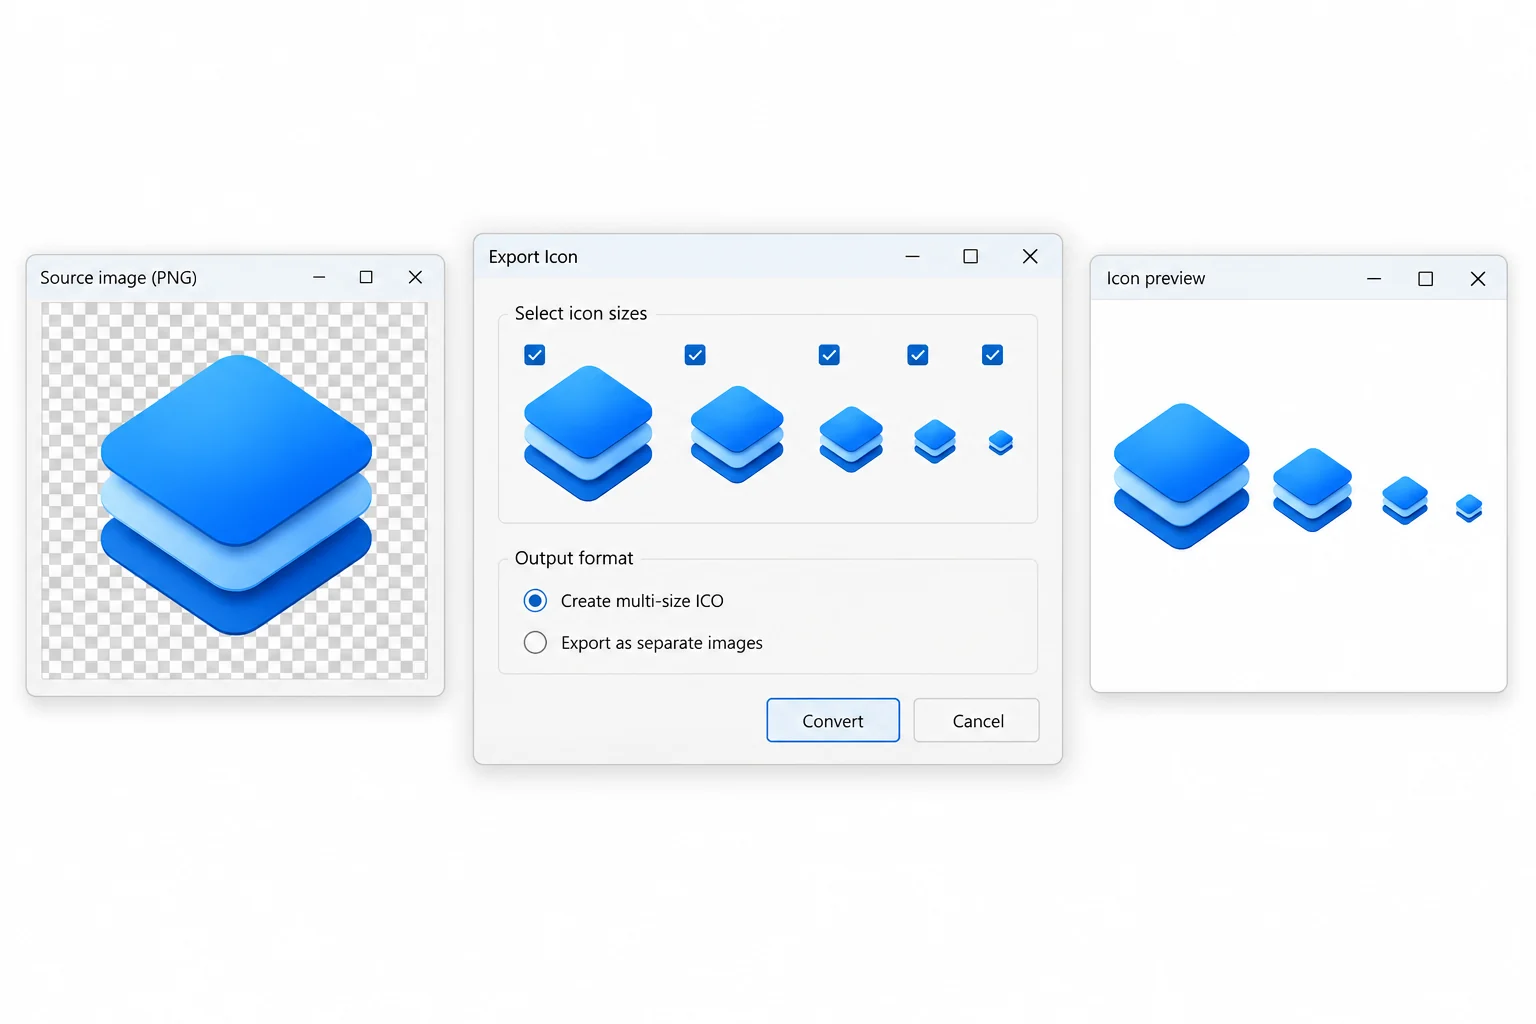
- Prepare the PNGStart from a square image with a transparent background, 256 pixels or larger on each side. Crop and clean it in any editor first.
- Open the creatorIn the Univik ICO Converter choose Create, then Create ICO from Image and pick your PNG.
- Keep the standard sizesLeave the size set alone so the file carries the small entries for lists and shortcuts and the large one for tiles.
- Save the .icoSave it somewhere permanent, then point a folder, shortcut or installer at it. The full assignment steps live in the folder icon guide.
Why Renaming the File Fails
The most tempting shortcut on the internet is changing logo.png to logo.ico and calling it done. It fails because a file's format lives in its bytes, not its name. A PNG opens with a PNG signature and holds exactly one image. An ICO opens with an icon directory that lists how many images follow, their sizes and their depths, then carries each image after it. Windows reads that directory first, and a renamed PNG has none, as the ICO format specification lays out.
The result depends on where you try it. The Change Icon dialog rejects the file or shows nothing. Spots that do accept it draw the one image scaled to whatever they need, which turns crisp art into soft mush at 16 pixels. Either way the fix is the same, build a genuine container.
The Sizes a Windows Icon Needs
Microsoft's own icon design guidance sets the working set for an application icon at four entries, 16, 32, 48 and 256. Each size has a job.
Windows picks whichever entry sits closest to the size it needs and only scales when the exact match is missing. That is the whole trick of a multi size file, every context finds a native copy, so nothing gets stretched. It is also why a single size icon looks fine in one place and rough in another.
Keeping the Transparency
An icon without a transparent background stops looking like an icon and starts looking like a sticker on a square. The transparency chain has two links. The source PNG must actually be transparent, since no converter can remove a background the image baked in. And the converter must write 32 bit entries that carry an alpha channel, the per pixel transparency layer icons have used since Windows XP.
Open the PNG in any viewer that shows a checkerboard behind transparent areas. If you see a solid white or colored box instead of the checkerboard, remove the background in an editor first, then convert.
Build the ICO with Univik
The Create ICO from Image tool in the Univik ICO Converter takes a PNG or BMP and writes a finished multi size .ico in one pass. It resizes your art into each standard entry, keeps the alpha channel intact at every size and packs the set into one file that the Change Icon dialog accepts without complaint. Batch work is covered too, a folder of PNGs becomes a folder of icons in one run.
There is a quiet 2026 reason to build icons locally rather than download ready made ones. A Windows security update that year made Explorer distrust icon files that arrive from the internet, and the details are in the folder icon guide. A file created on your own machine carries no such mark, so it just works.
Feed Univik a square PNG and get a finished .ico with the small, medium and large entries inside, transparency kept, ready for folders, shortcuts and installers.
Free Download See All FeaturesWhat Makes a Good Source Image
The output can only be as sharp as the picture going in, and three properties decide most of the quality. Square first, because icon entries are square, so a rectangular source gets padded with empty space or squeezed out of shape. Big second, 256 pixels a side or more, so the largest entry never has to upscale. Simple third, since the same art must survive being shrunk sixteen fold, and fine text or thin lines vanish at 16 pixels. A bold shape with clear contrast reads at every size.
If the art starts as a JPG or a screenshot, clean it into a transparent PNG before building the icon. JPG carries no transparency and leaves compression noise on sharp edges, both of which show badly at icon sizes.
The Favicon Case
The other big reason people convert PNG to ICO is the website favicon, the little icon in the browser tab. The root favicon.ico is still the fallback file every browser knows to look for, and it is the same kind of size bundle, carrying the small entries. A site needs a few more files beside it, and the whole modern set is laid out in the favicon sizes guide. If you are chasing a favicon that already exists on someone's site rather than making one, the guide to getting the favicon from any website covers that direction.
Going the Other Way
Sometimes the job is the mirror image, you have an .ico and need the picture out of it as a normal image. That is its own process with its own catch about which size you get, and the guide to converting an ICO file to PNG owns that direction. The two guides together cover the round trip, art into icon and icon back into art. Details about the container format itself sit on the ICO file extension page, and the PNG side lives on the PNG file extension page.
Frequently Asked Questions

Written and maintained by Leena Taylor Paul and the Univik team, developers of Windows data conversion and recovery software since 2013. Writing the icon builder meant testing hundreds of PNGs through the size pipeline to learn exactly which sources come out sharp at 16 pixels and which fall apart. Last verified August 2026. Icon not coming out right? Contact our support team.