Adding an icon to an EXE is two steps, making a proper multi size .ico and then embedding it, and the tool that builds the EXE handles the embedding. Create the icon file first, then attach it at build time or drop it into a finished EXE with a resource editor. The Univik ICO Converter builds the multi size .ico an executable needs from any image.
A program without its own icon looks unfinished. Windows falls back to the blank default, and the app reads as a rough draft even when the code behind it is solid. Giving an EXE a real icon is quick once you see that it is two separate jobs, not one.
This guide covers both jobs, the icon file the EXE needs and the ways to attach it, whether you build from source or you have a finished EXE in hand.
Making the Icon and Attaching It Are Two Jobs
Most confusion here comes from treating this as a single action. It is two. First you make an icon file. Then something writes that file into the EXE as a resource the way Microsoft's icon documentation describes. Those steps use different tools, and mixing them up is where people get stuck.
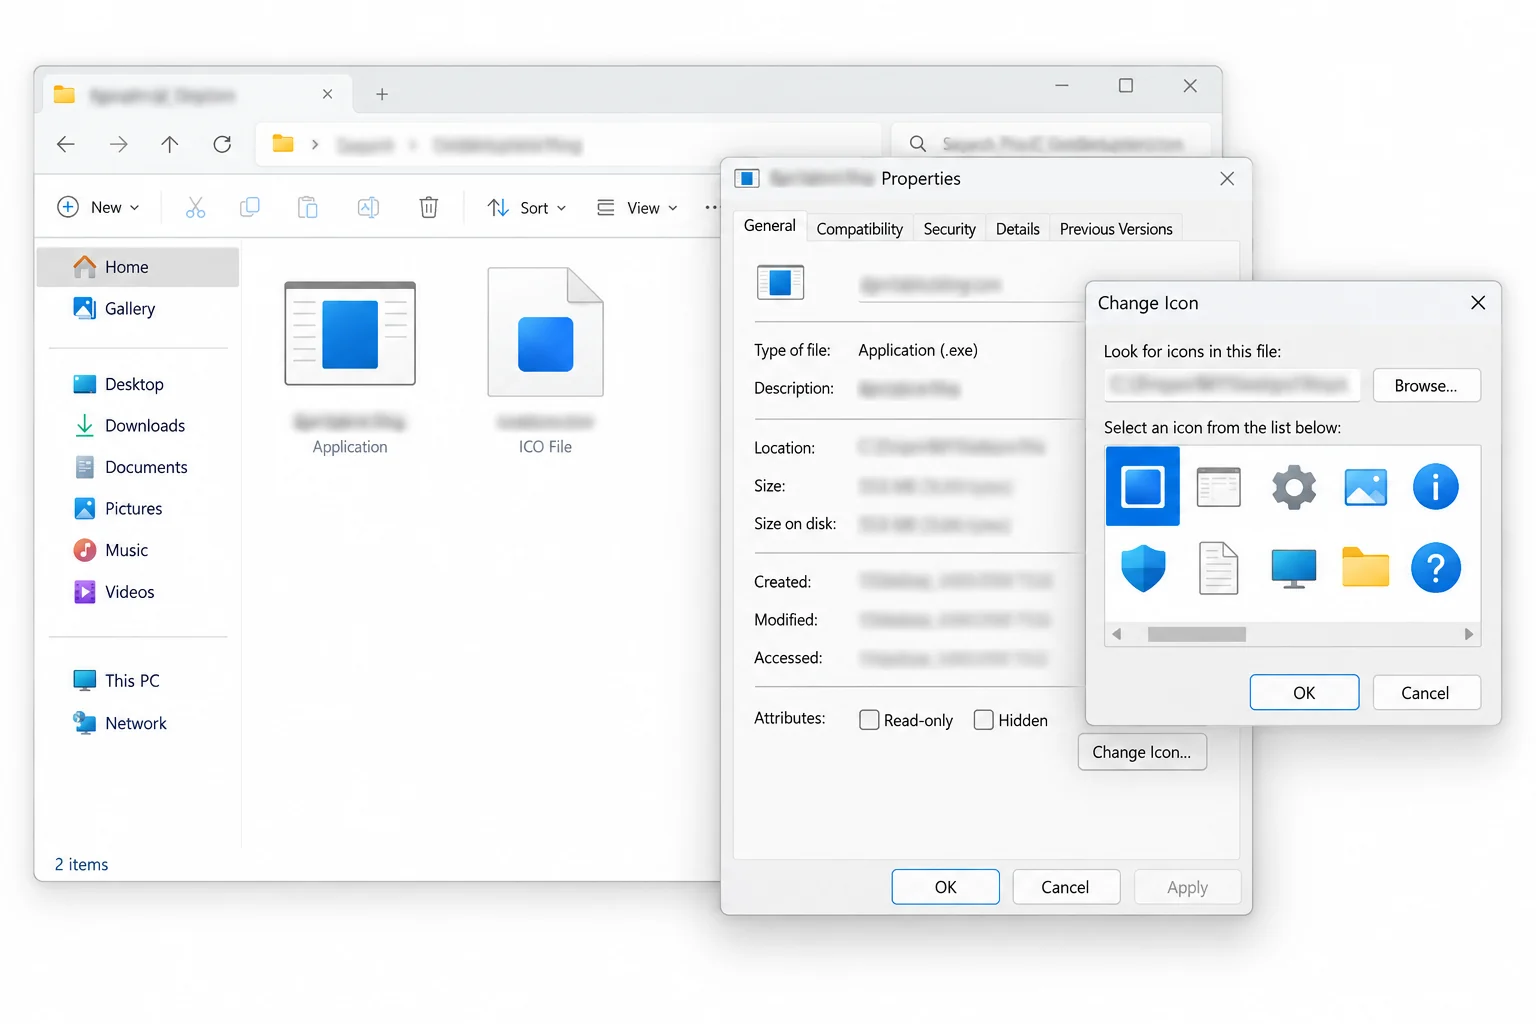
This is also the opposite direction from pulling an icon back out. If you want the artwork that is already inside a program, that is extracting icons from an EXE instead, a read rather than a write.
The Icon File a Windows EXE Needs
An EXE does not want a single picture. It wants an .ico, the Windows icon container, and a good one carries the same design at several sizes in one file. Windows then draws the right size for each place it shows the app. The largest size, 256, rides inside the file PNG compressed, so packing it in does not bloat the icon.
The design itself is a separate craft, from padding to how a shape holds up when it shrinks, which the guide on Windows style app icons gets into. The point for now is that one small image will not do the job. Skip the sizes and your app looks sharp in the file browser and blocky on the taskbar.
Make the ICO the App Will Use
Start with your artwork at 256 pixels or larger, then build the icon file. The Univik ICO Converter takes an image and writes a proper .ico with every size packed in.
- Load your artworkOpen the converter and drop in a PNG, SVG or other image at a large size.
- Choose the sizesInclude 16, 32, 48 and 256 so every place Windows shows the app has a match.
- Build the ICOExport as a single multi size .ico rather than separate images.
- Keep the fileYou now have the icon file to hand to your build, ready for the next step.
The mechanics of turning an image into that icon file and why a renamed picture never works sit in the guide on converting a PNG to an ICO. To eyeball the result, the free ICO viewer shows every size the file holds.
Turn any image into a multi size .ico with 16, 32, 48 and 256 pixel versions in one file, the shape a Windows executable reads for a clean icon everywhere it shows.
Free Download See All FeaturesAttach the Icon When You Compile
If you build the program yourself, the icon goes in as a resource at compile time. In a Windows resource script the whole instruction is one line, naming the icon file so the compiler bakes it into the EXE.
That line looks like IDI_ICON1 ICON "app.ico". What a resource script is and how it fits a build is laid out on the RC file guide. In Visual Studio you rarely touch it by hand, you add the .ico to the project and the tooling writes the resource for you.
One detail catches people out. An EXE can hold more than one icon group, and Windows does not simply show the first one you added. As Microsoft's Raymond Chen explains, Explorer picks the alphabetically first named group, and if none are named, the group with the lowest number. That is the reason the app icon is conventionally listed first with the lowest identifier.
Add an Icon to an EXE You Already Have
No source code, or no wish to rebuild? Windows gives you no built in way to repaint a compiled EXE, so this calls for a resource editor. One opens a finished EXE, swaps the icon resource for your .ico and saves the file, all without touching the code. Resource Hacker is the free tool people reach for most.
Open the EXE, find the icon group, replace it with your .ico and save. One honest warning, editing an EXE this way breaks any digital signature it carried, since the file no longer matches what was signed. That is fine for your own builds and a problem for software you did not make, so keep this to executables that are yours to change.
How Each Builder Takes an Icon
Most language toolchains skip the resource script and give you a single setting that points at your .ico. The builder does the embedding when it packages the app.
| Builder | How it takes the icon |
|---|---|
| PyInstaller | The --icon app.ico option, per its documentation |
| Electron (electron-builder) | The Windows icon setting, a .ico, or the default build/icon.ico |
| .NET (dotnet) | The ApplicationIcon property in the project file |
| Visual Studio C or C++ | Add the .ico to the project resources |
Each of these wants a real .ico. Hand PyInstaller or a bundler a stray PNG and it either refuses or leans on a helper to convert it, which is a coin toss on quality. Build the icon file yourself first and the result is predictable. Deeper walkthroughs for the Python and Electron paths get their own guides.
The New Icon Is Not Showing, and Why
You attach a fresh icon, open the folder and Windows still shows the old one. Nothing went wrong. Windows keeps a cache of icons so folders draw fast, and that cache lags behind a change.
Copy the EXE into a different folder, switch the folder view to large icons or clear the Windows icon cache, and the new icon appears. The ie4uinit.exe -show command rebuilds the cache on demand. The file was correct all along. Only the cached picture was stale.
Why an EXE Icon Comes Out Wrong
When an app icon disappoints, it is nearly always one of a short list.
Build a real multi size .ico, list your app icon first and clear the cache after a change, and the three usual traps are gone.
Frequently Asked Questions

Written and maintained by Leena Taylor Paul and the Univik team, developers of Windows data conversion and recovery software since 2013. We kept hearing from developers whose app icon looked crisp in the file browser but blocky on the taskbar, almost always a single size icon doing a job that needs several, so the converter builds every size an EXE reaches for in one pass. Last verified August 2026. Icon still not sticking? Contact our support team.