To convert OneNote to images, render each page to a JPG or PNG with a converter that reads the .one. The Univik ONE Converter saves one image per page at the DPI you set, with no OneNote required.
Two very different jobs go by the name OneNote to images. One is turning each page into a picture, a snapshot of the whole page. The other is pulling the photos pasted inside the notes back out as separate files.
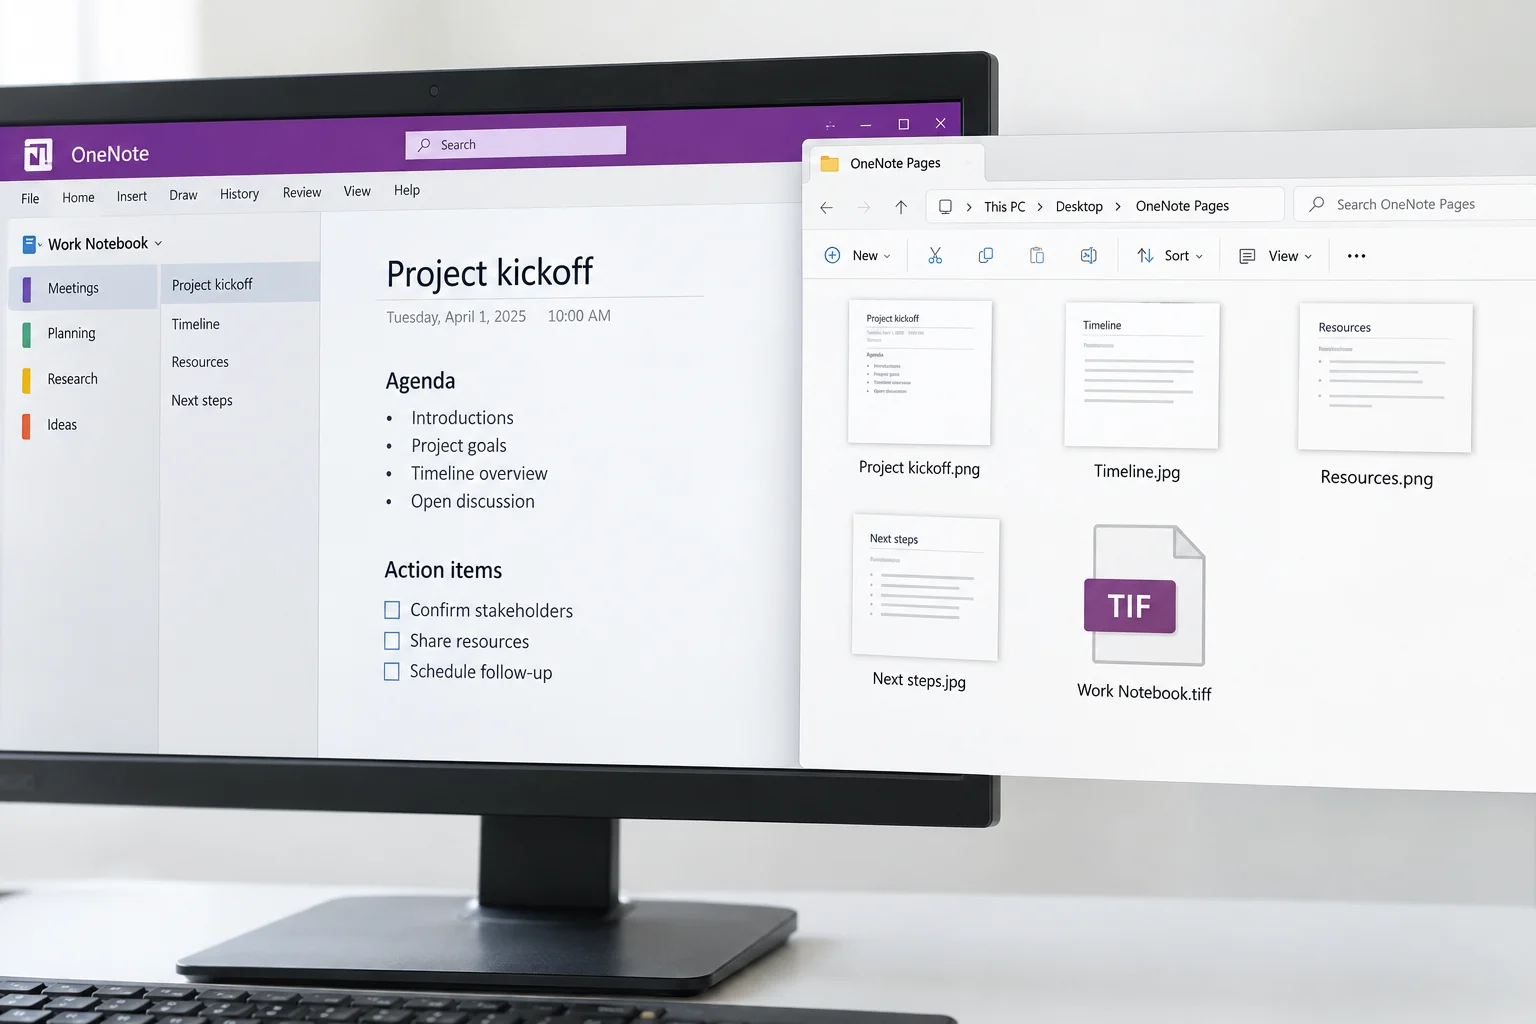
This guide covers the first, rendering pages to image files. Rendering gives you a JPG or PNG of each page exactly as it looks, ready to share, embed or archive.
Each Page Becomes a Picture
Rendering flattens a page into a single image, text, tables, pictures and all, laid out the way you see it in OneNote. The catch is that everything turns to pixels, so the words in the picture stop being text you can select or search. You get a faithful visual copy rather than an editable one. That suits sharing and archiving, and it is the wrong pick when you need the words back.
Render a Notebook to Image Files
If you only need to read the notes rather than convert them, you can open .one files online first — it opens .one and .onepkg files with nothing to install.
To render the pages, run a converter built to read the .one and output images. The .one stores each page's real layout, defined in Microsoft's OneNote file format spec, so the tool can paint the page faithfully instead of grabbing a rough screenshot of a window. The Univik ONE Converter opens a notebook and saves each page as a JPG or PNG, at the DPI and quality you choose and no OneNote running.
- Bring in the OneNote filesAdd the notebook files or a folder.
- Choose JPG or PNGPick the image format you want.
- Set the DPIHigher for print, lower for a screen.
- Run and collectOne image lands per page.
The rest of the output formats sit on the OneNote converter page, so the same notebook can also go to a document from one run.
The ONE Converter opens a .one or .onepkg notebook and paints each page to a JPG, PNG or TIFF at the DPI you pick, one file per page and no OneNote in the loop.
Free Download See All FeaturesWhich Image Format to Pick
The format decides the size and the sharpness of what you get.
| Format | Best for | Trade |
|---|---|---|
| JPG | Photo pages, small files | Lossy, softens fine text |
| PNG | Crisp text and lines | Lossless, larger files |
| TIFF | Archiving, one file for a section | Heavy, larger still |
| SVG | Scaling without blur | Not for photo pages |
A page that is mostly writing keeps its letters crisp as PNG, and a page full of photos comes out smaller as JPG. The traits of each are laid out in the MDN image format guide.
DPI and Quality Set the Image Sharpness
DPI is dots per inch, and it controls how sharp a rendered page comes out. A low DPI gives a small, soft image, and a high DPI a large, crisp one, so pick by where the picture is going. Screen sharing is happy around 150, while print wants 300 or more. On JPG a separate quality setting trades sharpness against file size.
One File per Page or a Multipage TIFF
JPG, PNG, BMP and GIF give you one image per page, so a ten page section becomes ten files in a folder. TIFF is the exception. It can hold every page in a single multipage file, which keeps a whole section together as one archive. Choose per page files when you are sharing single pages, and a multipage TIFF when you want a section kept in one place.
When to Pick an Image
An image is the right call when the look matters more than the words. Drop a page into a chat or a slide, embed it on a web page, hand it to someone with no OneNote or keep an exact visual record of how a page stood on a given day. Handwriting and ink travel without fuss here, since they were already visual. For anything you plan to search or edit later, an image is the wrong home.
Rendering Pages, Not Extracting Pictures
This is the mix up worth clearing. Rendering makes a picture of the whole page. Extracting does the reverse, reaching into the notes and pulling out only the photos that were pasted in, as their own files, leaving the text behind.
If you want the pictures that live inside a notebook rather than snapshots of the pages, the extract images from OneNote guide covers that side.
When PDF or HTML Fits Better
If the text has to stay selectable and searchable, an image will not do. A PDF holds the page look and keeps the text underneath, so send searchable pages there with the OneNote to PDF guide. For a page going on the web, the OneNote to HTML guide gives real text and links instead of a flat picture. Reach for images when the visual is the whole point.
OneNote to Images Questions

Written and maintained by Leena Taylor Paul and the Univik team, developers of Windows data conversion and recovery software since 2013. The one thing worth getting right on this topic is which job you actually want, a picture of the page or the photos inside it, so this guide spends its effort drawing that line and matching the format and DPI to where the image will go. Last verified August 2026. Not sure whether you want pages or the pictures in them? Contact our support team.